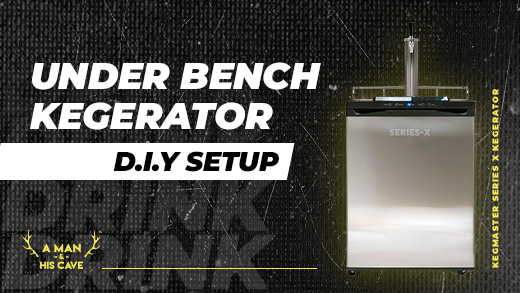
Whether it’s for your bar, your uni residence, or your Man Cave, a kegerator is an awesome item to have for ice-cold draught beer at your fingertips anytime you want. The slab in your bar fridge cannot compare to the sheer joy that comes with being able to walk over to your kegerator fridge and pour yourself a nice tall coldie.

And whilst our Kegerators for sale are so shiny you could see your teeth in them, under bench kegerators (also sometimes referred to as kegerator cabinets) have risen in popularity in recent times. This is because under bench kegerators are an awesome way to ensure your kegerator fits in perfectly with the overall aesthetic of your Man Cave, as well as protects the kegerator itself from scratches and dents that come from being exposed to the wild (and by wild, we mean your mates after one too many schooners!).

They’re also a great way to further show off your handyman skills! Believe it or not, you don’t need to hire a carpenter to build your Under Bench Kegerator. It’s very easy to do it yourself (with the right set of instructions of course) even if you’re a beginner!

Step 1: Purchase a Kegerator from A Man and His Cave’s Website
Okay, we promise we’re not trying to be cheeky. This is a very necessary first step. You cannot have a gnarly under bench kegerator without a gnarly kegerator to begin with. It is important that the kegerator you use is of premium quality. You don’t want to have to break everything apart a few months down the line because the kegerator you used isn’t working anymore and needs to be repaired or replaced. The Kegerators for Sale on A Man and His Cave’s Website are incredibly high quality with designs that lend themselves well to a DIY under bench kegerator.

Step 2: Unscrew the Font and Taps, Detach Guard Rail and Drip Tray
Begin by unscrewing the stainless steel font, which is the cylinder for taps. Then detach the guard rail, which is a chrome plated railing that fences off the back of the kegerator. Lastly, detach the black plastic wrap around drip tray.

Step 3: Drill Holes in Bench Top for Beer Lines to Run Through
Drill a hole in your bench top that is 10mm in diameter. This is where your beer lines will run through. This hole must be in the dead centre of a circle drawn 100mm in diameter. This is where you will mount the font.
Step 4: Run Your Beer Lines Through the Hole in Your Bench Top
Run your beer line through the 10mm drilled hole in your bench top. Make sure that there is a 10cm gap between the top of your kegerator and the underbelly of your bench for much needed ventilation.

Step 5: Mount the Font onto the Bench Top
Now it’s time to mount the font onto the 100mm circle you drew on the bench top around the drilled hole where your beer line ran through. You can fix the font to the bench top either with an adhesive or with screws that are provided.

Step 6: Insulate the Naked Beer Line
Remember the 10cm gap you were meant to leave between the top of the keg and the bottom of the bench? There is naked beer line extended through this 10cm cavity. Add insulation around this naked portion of the beer line.

Step 6: Insulate the Naked Beer Line
Remember the 10cm gap you were meant to leave between the top of the keg and the bottom of the bench? There is naked beer line extended through this 10cm cavity. Add insulation around this naked portion of the beer line.

Step 7: Attach Drip Tray to Bench Top
Attach the black plastic wrap around drip tray to your bench top. Attach it where the font meets the table. This will ensure beer doesn't run down your font and warp the wood on your bench.

Step 8: Add Cabinetry
Add cabinetry over the top of your Kegerator. By top, we are referring to the front of the kegerator fridge door. Please do not add cabinetry all around the kegerator as the back of the kegerator needs air to circulate through or else the coils will overheat and your kegerator could malfunction.

Step 9: Add Taps
You have plenty of options when it comes to taps for your under bench kegerator. Series X Kegerators can hold up to 4 taps. The choice you make purely depends on what you’re using your under bench kegerator for. If you’re using it for your bar where there will be more than one bartender using it at the same time, then the more the merrier! A modular font might even be best for you. But if you’re just looking to pour ice cold schooners for yourself and your mates on the weekends, then 1 or 2 taps is all you need.

And that’s about it! Like we said, a very simple process that anyone can do themselves if they follow our 9 simple steps.
You are now prepped and ready to build your own DIY under bench kegerator for your Man Cave. Any questions? If so, feel free to contact us! 02 9055 8231
And if you’re still in need of a kegerator for sale before you can get started, you can find a wide range of premium kegerators when you click here.


